Docker allows you to create isolated environments. And not only in production. Docker has changed the way development environments are set up, particularly for software teams working across different operating systems. It eliminates the infamous “works on my machine” problem by creating environments that are consistent across all machines. Many software teams use it to set up complete development environments that include all the services required by an application and sometimes even a full-fledged web-based IDE! This is precisely what we are going to do in this article.
The Docker Compose file#
You’ll need Docker installed on your computer. If you haven’t done this already, please follow the installation instructions at https://docs.docker.com/engine/install. To verify a successful installation, you can run docker –version in your terminal, which should return the installed version of Docker.
Our setup is defined in a docker-compose.yml file which defines three services, each running in its own container. Here’s the full file:
version: '3.8'

services:
  mariadb:
    image: mariadb:latest
    environment:
      MARIADB_ROOT_PASSWORD: RootPassword123!
      MARIADB_DATABASE: demo
      MARIADB_USER: user
      MARIADB_PASSWORD: Password123!
    ports:
      - "3306:3306"
    volumes:
      - ./mariadb_data:/var/lib/mysql
    restart: always

  code-server:
    image: codercom/code-server:latest
    ports:
      - "8080:8080"
    environment:
      - PASSWORD=CodePassword123!
    volumes:
      - ./workspace:/home/coder/project
      - ./install-extensions.sh:/install-extensions.sh
    entrypoint: ["/bin/bash", "/install-extensions.sh"]
    restart: always

  db-gate:
    image: dbgate/dbgate:latest
    environment:
      CONNECTIONS: con1
      LABEL_con1: MariaDB
      SERVER_con1: dockerhost
      USER_con1: root
      PASSWORD_con1: RootPassword123!
      PORT_con1: 3306
      ENGINE_con1: mysql@dbgate-plugin-mysql
    ports:
      - "3000:3000"
    restart: always
The previous file defines the following services:
MariaDB Service (mariadb): This service runs the MariaDB database server. It includes environment variables for the root password, database name, and a new user credentials for applications (don’t use root in your applications). The port mapping ensures that the database is accessible on port 3306 outside the Docker environment. The volumes directive ensures data persistence in the ./mariadb_data directory on your local machine.
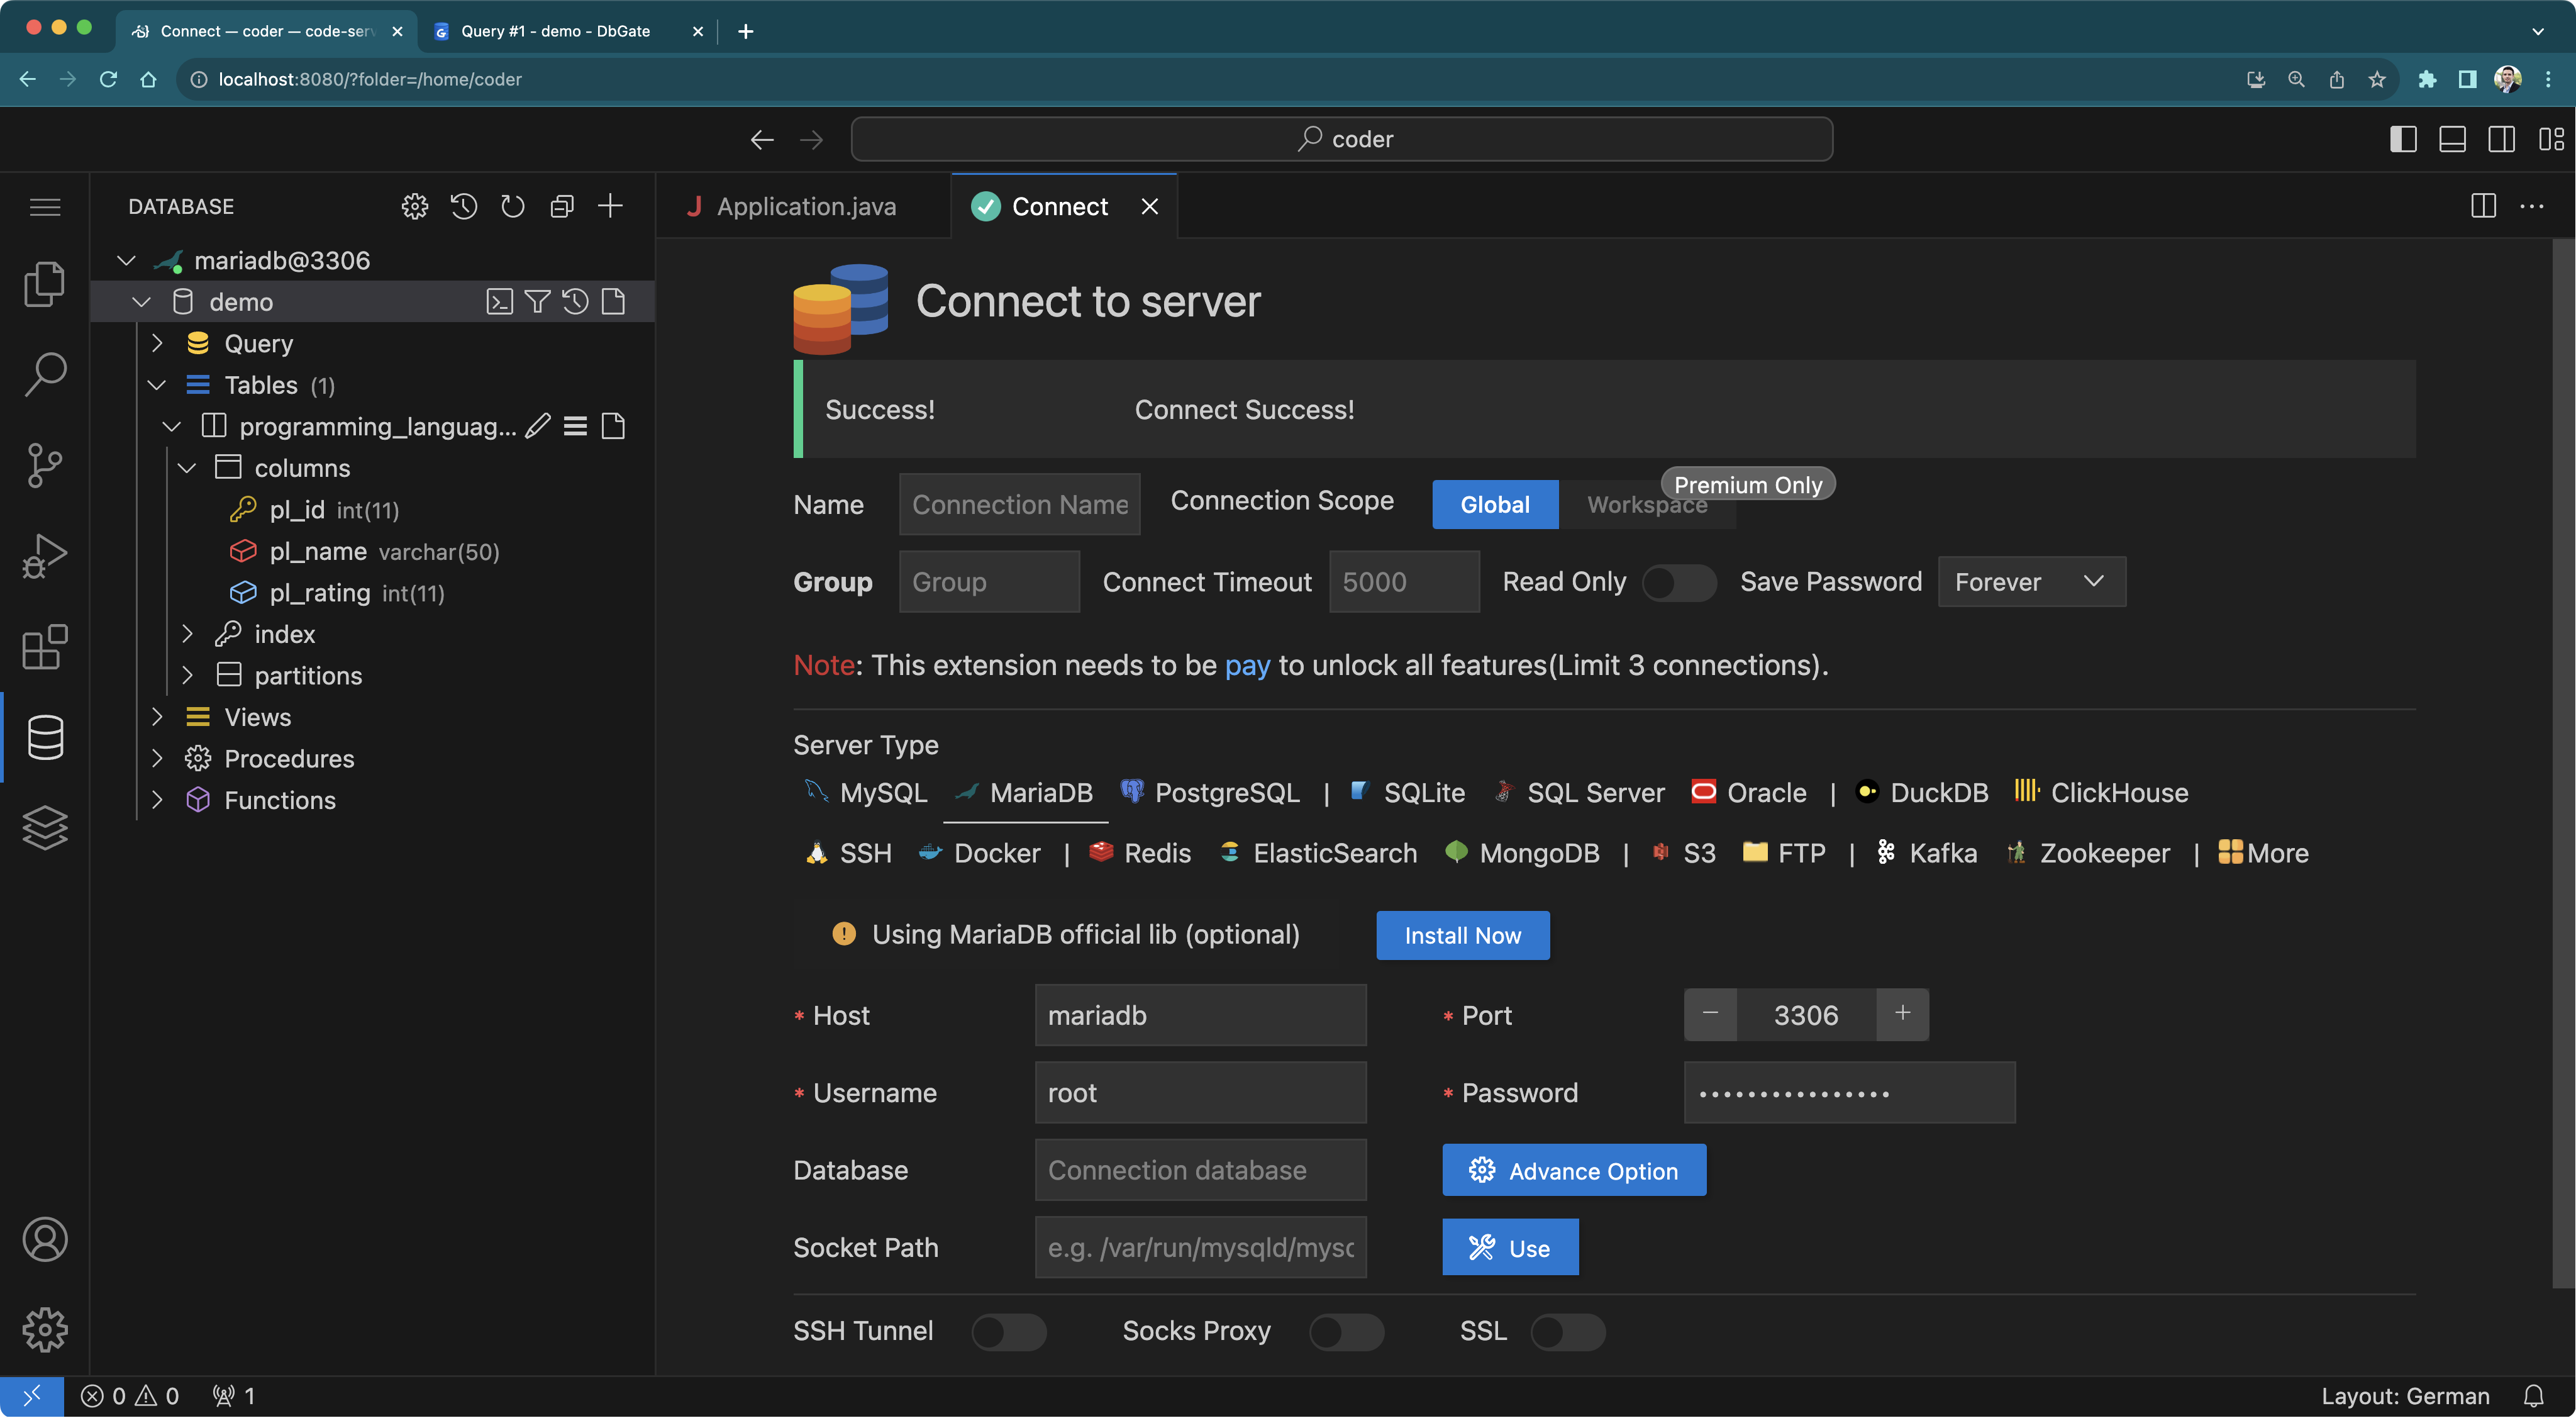
Code-Server Service (code-server): This runs a web-based version of Visual Studio (code-server), accessible via a browser on port 8080. It’s secured with a password and mounts two locations on your local machine: your project workspace (./workspace) and a script for installing additional IDE extensions (./install-extensions.sh).
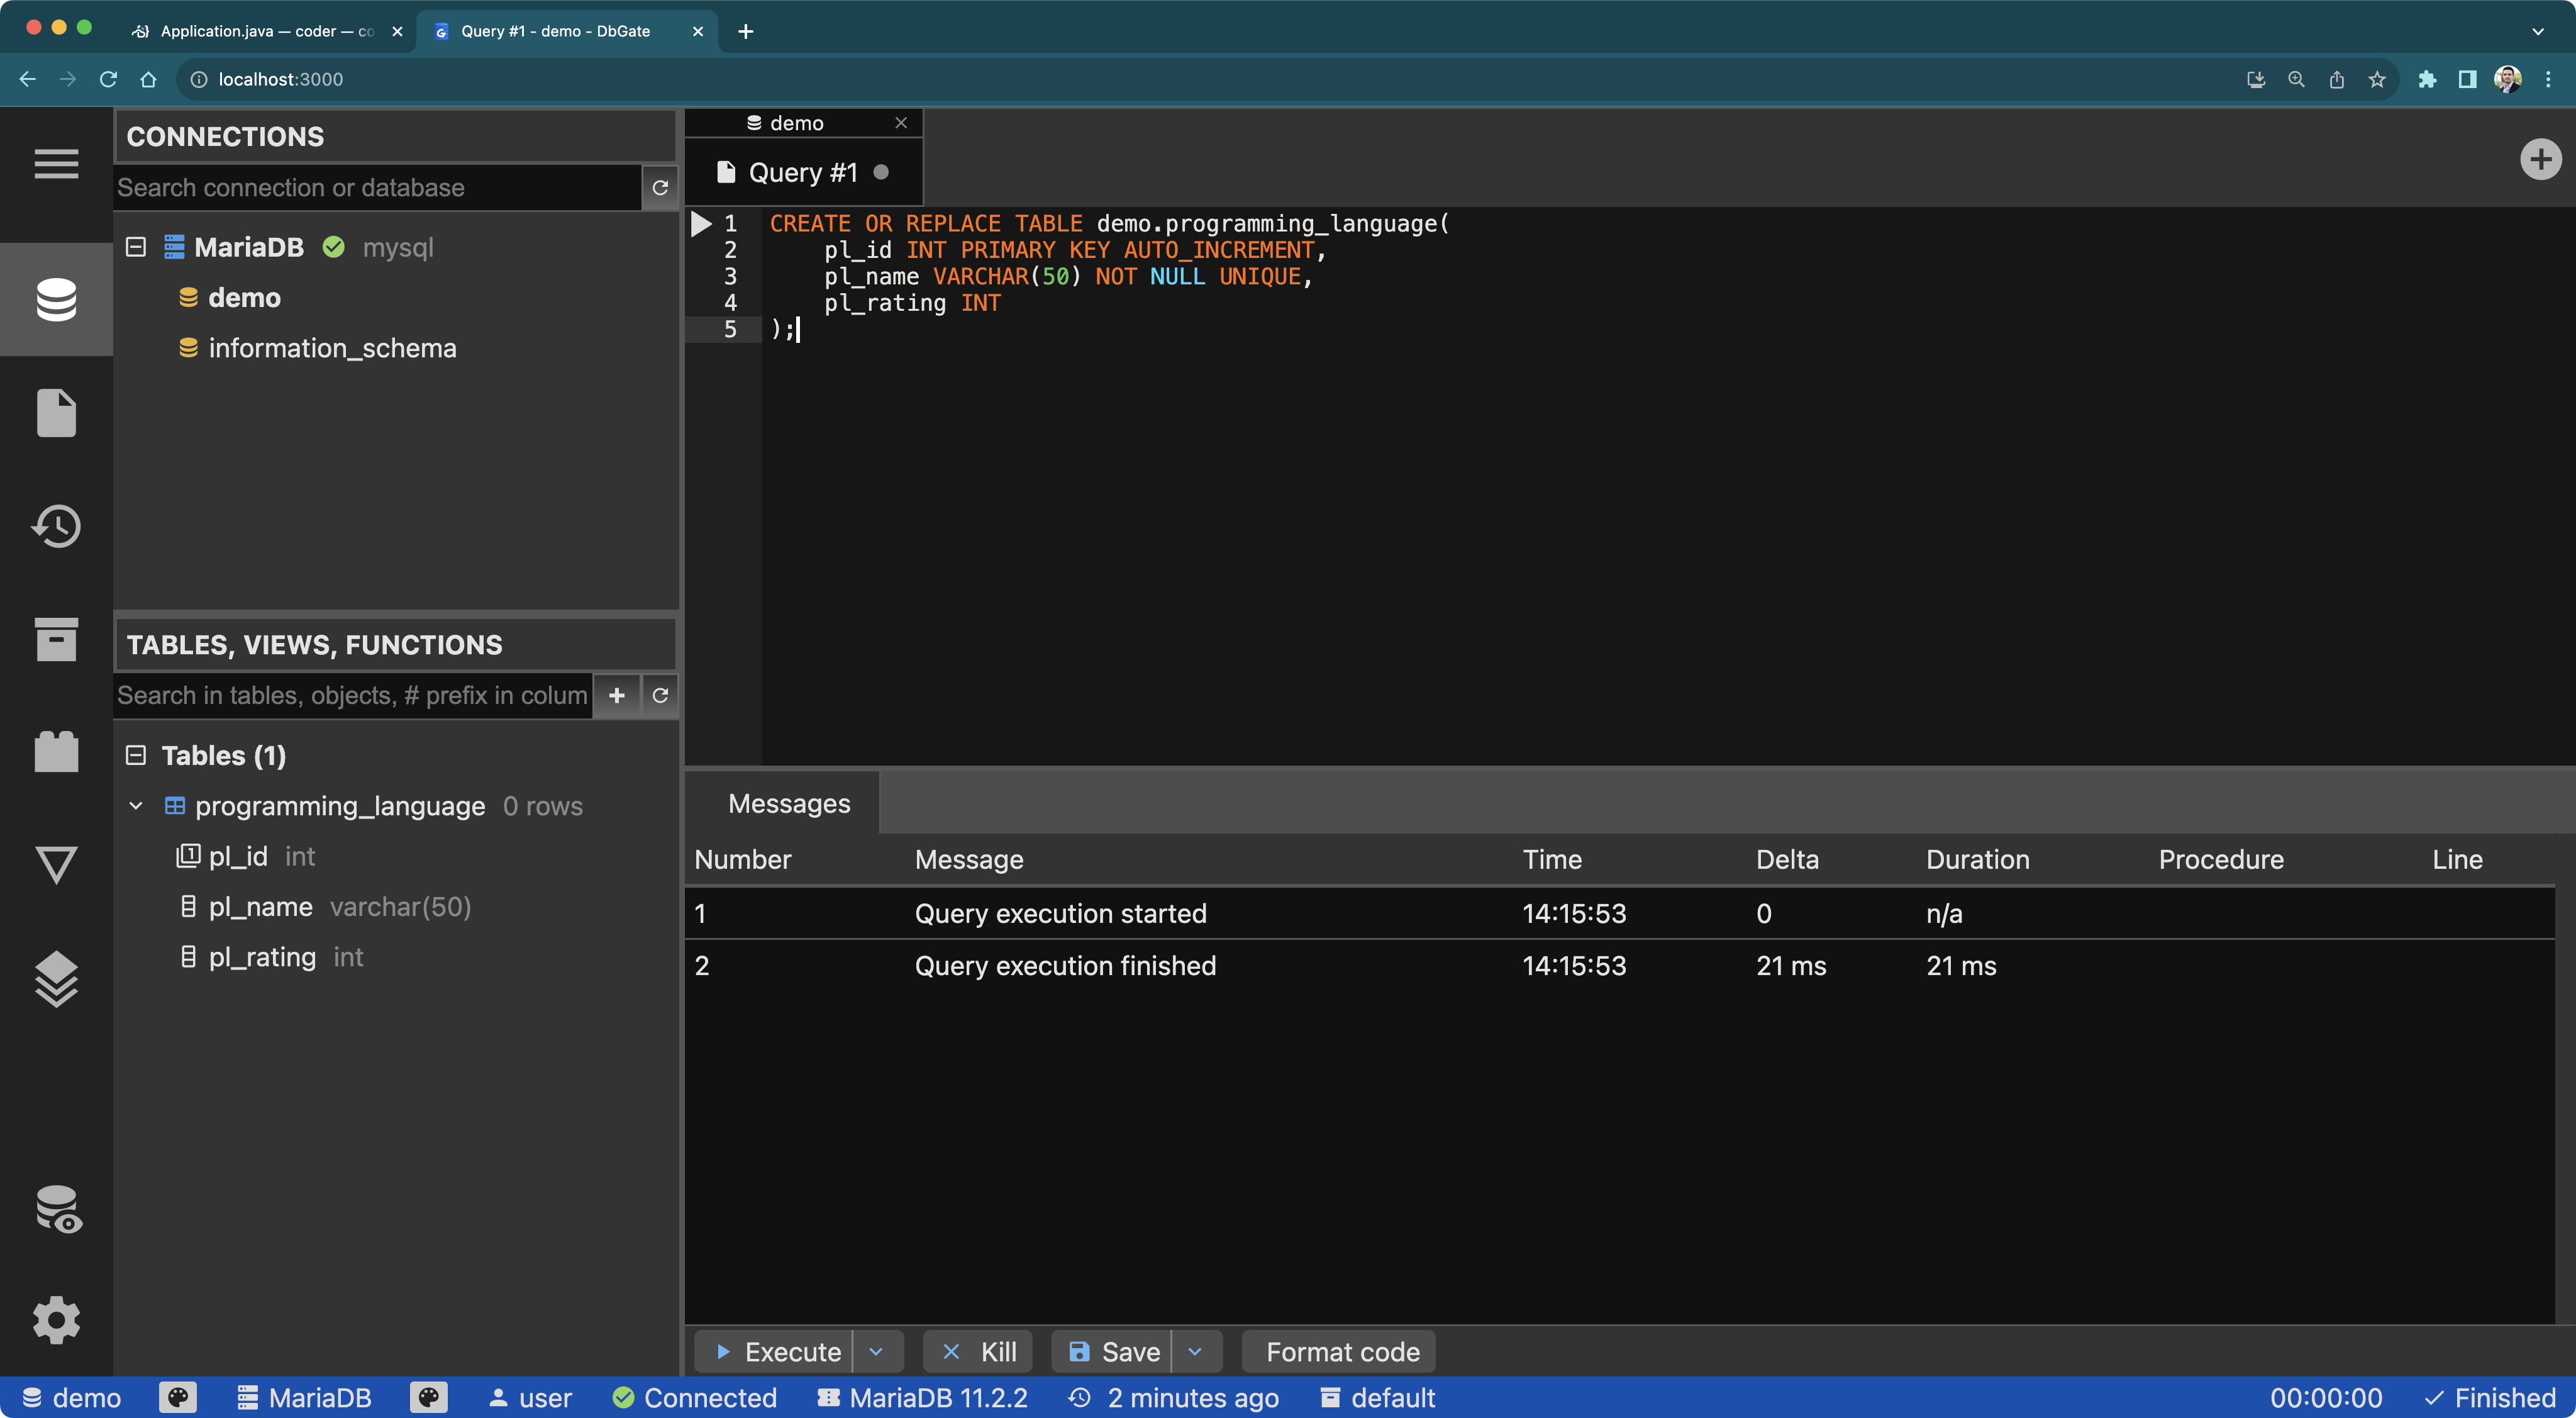
DbGate Service (db-gate): DbGate is a versatile, web-based database client that allows you to interact with your database through a graphical interface in your browser. It’s pre-configured to connect to your MariaDB server.
Customizing the IDE#
The following install-extensions.sh script automatically installs extensions for Java, Python, Node.js, and an additional SQL client for running queries inside the IDE:
#!/bin/bash
code-server --install-extension vscjava.vscode-java-pack
code-server --install-extension ms-python.python
code-server --install-extension cweijan.vscode-database-client2
# Start code-server normally after installing extensions
exec /usr/bin/entrypoint.sh --bind-addr 0.0.0.0:8080 . "$@"
Modify this script to include or remove any extensions as per your project requirements.
Running the containers#
To start the services, open a terminal and navigate to the directory containing your docker-compose.yml and install-extensions.sh files and execute:
docker compose up -d
This command downloads the necessary Docker images and starts the containers as defined in your Docker Compose file. The -d flag runs the containers in detached mode, allowing them to run in the background.
After running the command, you can verify the progress by checking the logs:
docker logs <container_name>
Replace <container_name> with the name of the container.
Be patient! The first time you run this, Docker has to download the images to create the containers as well as the Visual Studio Code extensions. Check the logs to see the progress.
Accessing the IDE#
After the services are up and running and the extensions are installed, navigate to http://localhost:8080 in your web browser. Enter the password defined in your Docker Compose file (in our case, CodePassword123!) to access the IDE.

Accessing the database client#
You can access the DbGate database client by navigating to http://localhost:3000 in your web browser. The service is pre-configured to connect to your MariaDB server, so you can start interacting with your database right away.

Alternatively, you can use the Database Client extension for Visual Studio Code inside the IDE, in which case, you have to use mariadb as Host.

Important considerations#
Adopting a Docker-based development environment brings benefits, particularly in ensuring consistency across team members’ machines. This approach effectively addresses the “works on my machine” problem by providing isolated, replicable environments for each service. Such isolation minimizes dependency issues, and the ease of setting up and tearing down these environments saves considerable time and effort.
However, there are considerations to keep in mind. Docker, while efficient, comes with a learning curve, especially for those new to containerization. Additionally, running multiple services simultaneously can be resource-intensive, which might be a challenge for less powerful machines. The complexity also increases for advanced development scenarios requiring deeper knowledge of Docker’s networks, volumes, and security settings.
Good practices such as regular updates, version control for Dockerfiles, and thorough documentation are vital for maintaining the efficiency and security of a Docker-based environment. While this approach can significantly enhance development workflows and collaboration, it’s important to balance its benefits against its complexities and align it with the team’s needs and capabilities.
What’s next?#
So, what’s next? Start coding! If you are new to database persistence, check these resources to get started using Java, Python, and Node.js:
- https://github.com/mariadb-developers/java-quickstart
- https://github.com/mariadb-developers/python-quickstart
- https://github.com/mariadb-developers/nodejs-quickstart

